
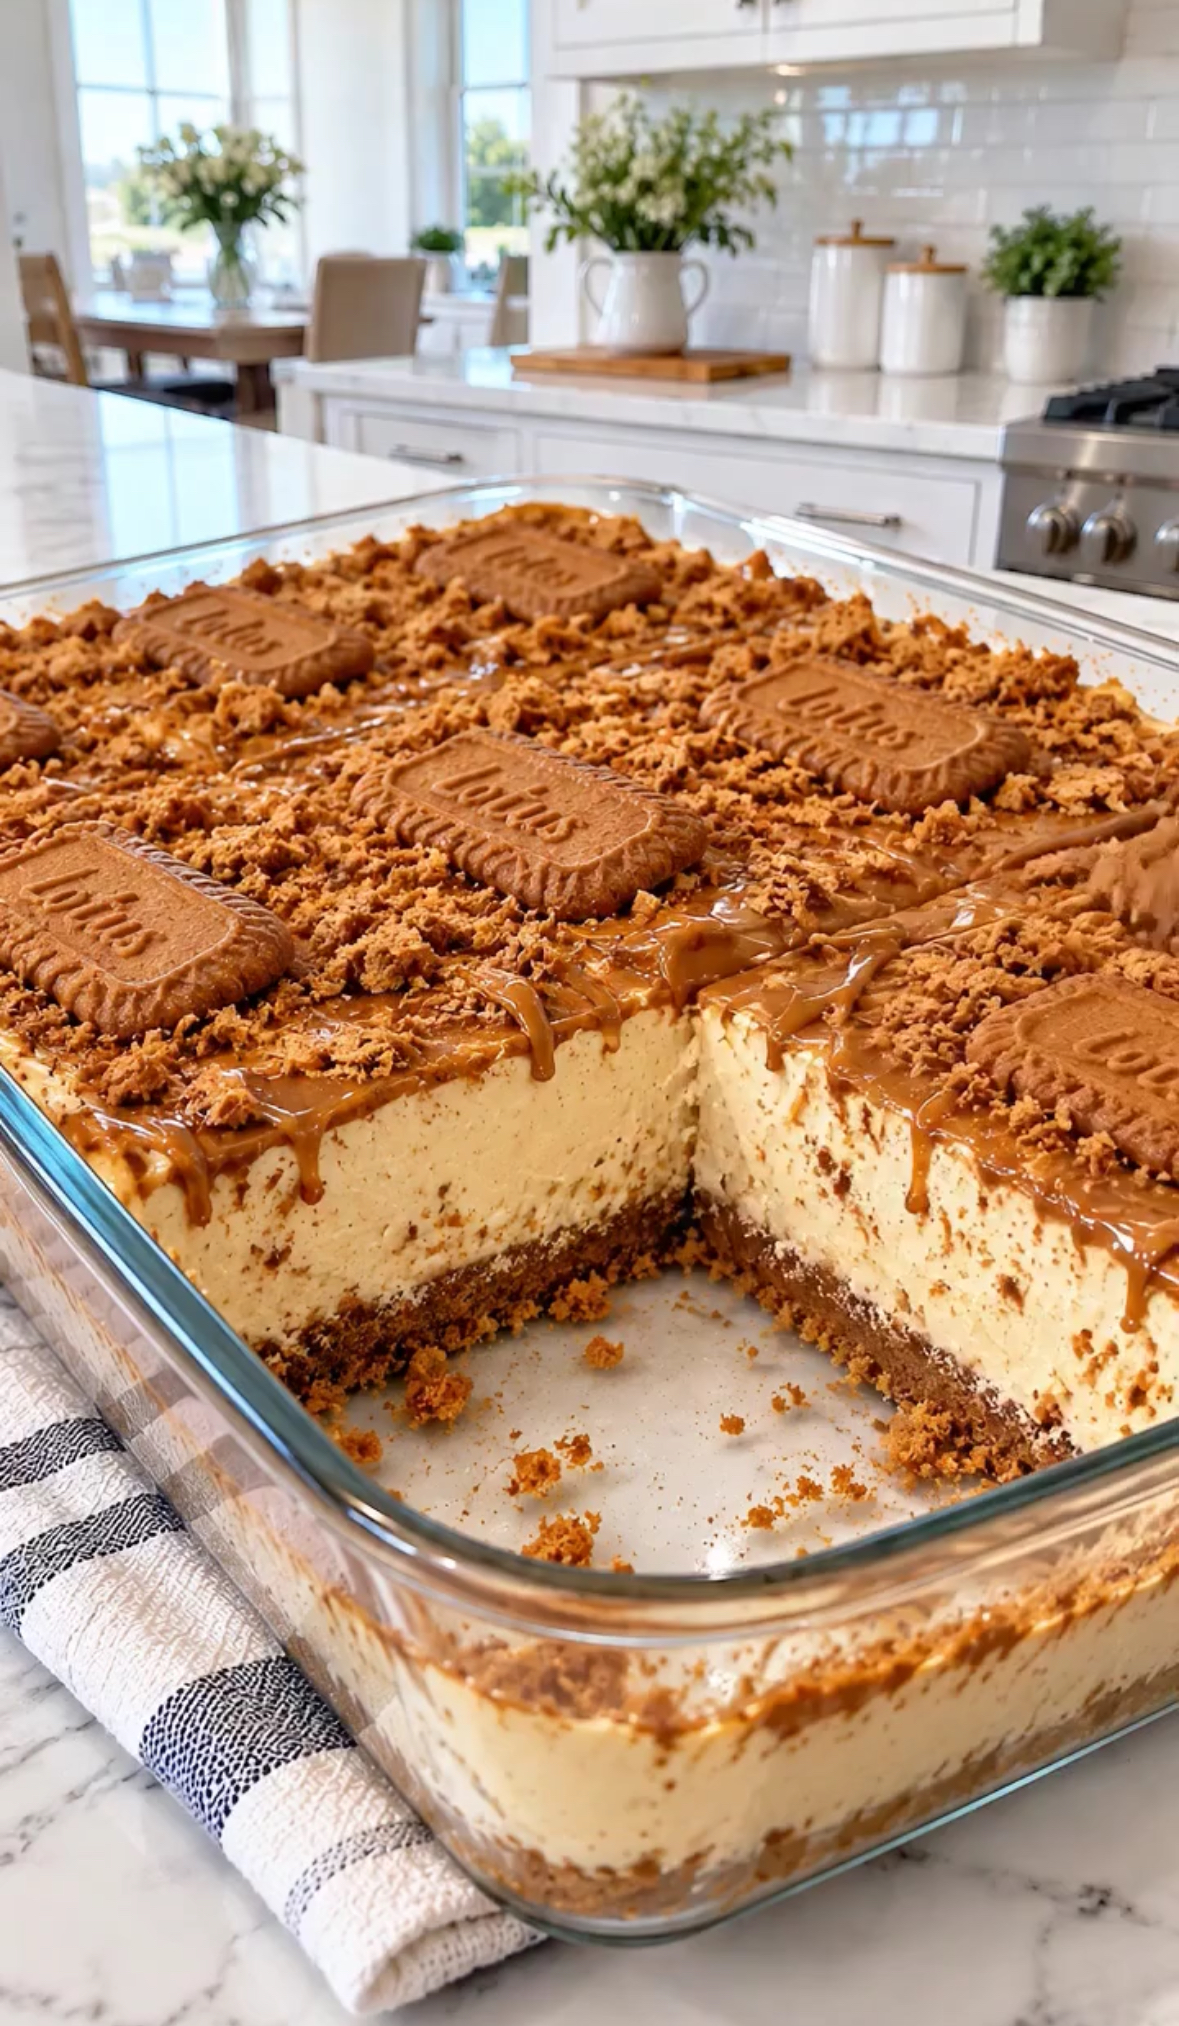
This No-Bake Lotus Biscoff Cheesecake is a rich, creamy dessert made with crunchy caramelized Biscoff cookies, smooth cream cheese filling, and a generous layer of melted Biscoff cookie butter. With its buttery biscuit crust and irresistible spiced caramel flavor, this easy cheesecake is perfect for holidays, birthdays, dinner parties, and special family gatherings.
The best part? You don’t need an oven! Simply prepare the crust, whip up the creamy filling, add the delicious Biscoff topping, and let the cheesecake chill until perfectly set. It’s an impressive homemade dessert that requires simple ingredients and minimal effort.
Recipe Overview
| Details | Information |
| Preparation Time | 25 minutes |
| Chilling Time | 4–6 hours |
| Total Time | 4 hours 25 minutes |
| Cooking Method | No-bake |
| Servings | 12–16 squares |
| Course | Dessert |
| Cuisine | European-inspired |
| Difficulty | Easy |
Why You’ll Love This Recipe
This no-bake Biscoff cheesecake combines a crunchy cookie crust with a light, fluffy cream cheese filling and a smooth, caramelized cookie butter topping. Every bite delivers the signature cinnamon-spiced flavor of Lotus Biscoff cookies.
It’s also an excellent make-ahead dessert. Prepare it the day before your event, refrigerate overnight, and cut it into neat squares when you’re ready to serve. No baking, complicated techniques, or water bath required.
Ingredients
For the Biscuit Crust
| Ingredient | Quantity |
| Lotus Biscoff cookies | 250 g (about 2 standard packs) |
| Unsalted butter, melted | 115 g (½ cup) |
For the Cream Cheese Filling
| Ingredient | Quantity |
| Cream cheese, softened | 450 g (16 oz) |
| Powdered sugar | ½ cup (about 60 g) |
| Smooth Lotus Biscoff spread | ½ cup (about 125 g) |
| Vanilla extract | 1 teaspoon |
| Heavy whipping cream, cold, 35% fat | 240 ml (1 cup) |
For the Topping
| Ingredient | Quantity |
| Lotus Biscoff spread | ½ cup (about 125 g) |
| Whole Lotus Biscoff cookies | 4–6 cookies, or as desired |
| Crushed Biscoff cookies | 2–3 tablespoons |
Step-by-Step Instructions
Step 1: Prepare the Biscuit Crust
Place the Biscoff cookies in a food processor and pulse until they become fine crumbs. Alternatively, place the cookies in a sealed bag and crush them with a rolling pin.
Transfer the crumbs to a bowl and add the melted butter. Stir until the mixture resembles wet sand and the crumbs are evenly coated.
Press the mixture firmly into the bottom of a rectangular baking dish or a 9-inch square pan lined with parchment paper. Use the back of a spoon or the bottom of a measuring cup to create a compact, even crust.
Refrigerate for at least 20–30 minutes while preparing the filling.
Step 2: Beat the Cream Cheese
Place the softened cream cheese in a large mixing bowl. Add the powdered sugar and beat with an electric mixer until the mixture is smooth, creamy, and free of lumps.
Scrape down the sides of the bowl as needed to ensure everything is evenly combined.
Step 3: Add the Biscoff Spread
Add ½ cup of smooth Lotus Biscoff spread and the vanilla extract to the cream cheese mixture.
Beat again until fully incorporated. The filling should have a smooth texture and a rich caramelized cookie flavor.
Step 4: Whip the Heavy Cream
In a separate, clean bowl, pour in the cold heavy whipping cream.
Using an electric mixer, whip until firm peaks form. The cream should hold its shape when the beaters are lifted, without becoming grainy or overwhipped.
For the best results, use cold cream and a chilled mixing bowl.
Step 5: Fold the Whipped Cream Into the Filling
Add the whipped cream to the cream cheese mixture in two or three additions.
Using a rubber spatula, gently fold the cream into the filling with upward movements until the mixture is evenly combined and airy.
Avoid vigorous mixing, as this can deflate the whipped cream and make the cheesecake filling less fluffy.
Step 6: Assemble the Cheesecake
Remove the chilled crust from the refrigerator.
Spoon the cream cheese filling over the crust and spread it evenly with a spatula. Smooth the surface to create a neat, level layer.
Cover the dish and refrigerate while preparing the topping.
Step 7: Prepare the Biscoff Topping
Place ½ cup of Lotus Biscoff spread in a microwave-safe bowl.
Microwave in short 10–15-second intervals, stirring between each interval, until the spread becomes smooth and pourable. Allow it to cool slightly so it doesn’t melt the cheesecake filling.
Pour the melted spread over the cheesecake and gently spread it into an even layer.
Step 8: Decorate and Chill
Sprinkle crushed Biscoff cookies over the topping and arrange whole cookies on the surface for decoration.
Cover the cheesecake and refrigerate for at least 4–6 hours, preferably overnight, to allow the filling to firm up properly.
Step 9: Slice and Serve
Once fully chilled, lift the cheesecake out of the pan using the parchment paper, if applicable.
Cut into squares with a sharp knife. For cleaner slices, dip the knife in warm water and wipe it dry between cuts.
Serve cold and enjoy the creamy filling, buttery crust, and smooth Biscoff topping.
Best Tips for the Perfect Biscoff Cheesecake
Use full-fat cream cheese for a rich filling that holds its shape well. Make sure the cream cheese is softened before mixing, but keep the whipping cream cold so it reaches firm peaks.
Press the biscuit crust firmly into the pan to prevent it from crumbling when sliced. Allow enough chilling time before serving, since this no-bake cheesecake relies on refrigeration rather than baking to set.
For neat, professional-looking squares, refrigerate the cheesecake overnight and use a clean, warm knife for every cut.
Best Ingredient Options
Lotus Biscoff cookies provide the classic caramelized flavor, but similar spiced caramel biscuits can work as a substitute. Unsalted butter allows you to control the saltiness of the crust.
Full-fat cream cheese gives the best texture, while powdered sugar dissolves more easily than granulated sugar. Choose heavy whipping cream with approximately 35% fat for a stable, fluffy filling.
Smooth Biscoff spread is ideal for the topping, although crunchy Biscoff spread can add an extra layer of texture.
Recipe Variations
For a chocolate Biscoff cheesecake, drizzle melted dark or milk chocolate over the finished dessert. You can also add a thin layer of chocolate ganache between the filling and the Biscoff topping.
For extra crunch, fold a small handful of crushed Biscoff cookies into the filling before assembling the cheesecake. For individual portions, prepare the recipe in small dessert glasses or jars instead of a large pan.
You can also make a round cheesecake using a 9-inch springform pan and decorate the top with whole cookies around the edge for a beautiful celebration dessert.
What to Serve With Lotus Biscoff Cheesecake
Serve this creamy dessert with freshly brewed coffee, cappuccino, black tea, or a cold glass of milk. The slightly bitter flavor of coffee balances the sweetness of the cookie butter beautifully.
For a dessert platter, pair the cheesecake squares with fresh strawberries, raspberries, or sliced bananas. Fresh fruit adds a refreshing contrast to the rich, caramelized filling.
Make-Ahead Instructions
This cheesecake is ideal for preparing ahead of time. Assemble the entire dessert, including the topping, cover it tightly, and refrigerate overnight.
For the freshest presentation, add the whole cookies and extra crushed-cookie decorations shortly before serving, especially if you want them to retain their crunch.
Storage Instructions
Store leftover cheesecake in an airtight container in the refrigerator for up to 4–5 days.
Keep the dessert chilled until serving because the filling contains cream cheese and whipped cream. Avoid leaving it at room temperature for more than 2 hours.
The biscuit crust may gradually soften during storage, but the cheesecake will remain creamy and flavorful.
Reheating Instructions
This dessert does not require reheating. Serve it directly from the refrigerator for the best texture and flavor.
If the cheesecake feels too firm, allow it to sit at room temperature for approximately 5–10 minutes before serving. Avoid heating it in the microwave, as this can soften the filling and melt the topping.
Freezing Instructions
You can freeze the cheesecake for up to 2 months for the best quality. For easier serving, slice it into individual squares before freezing.
Place the squares on a tray until firm, then transfer them to a freezer-safe airtight container with parchment paper between layers.
Thaw the cheesecake overnight in the refrigerator before serving. For the best appearance, add any extra cookie decorations after thawing.
Common Mistakes to Avoid
Using warm whipping cream can make it difficult to achieve firm peaks, resulting in a softer filling. Always start with cold cream and stop whipping as soon as firm peaks form.
Overmixing the whipped cream into the cream cheese mixture can remove the air that gives the filling its light texture. Fold gently with a spatula instead of beating at high speed.
Adding very hot Biscoff spread directly to the filling can soften the cheesecake surface. Let the melted spread cool slightly before pouring it over the dessert.
Finally, cutting the cheesecake before it has fully chilled can cause the squares to collapse. Allow at least 4–6 hours of refrigeration, or preferably an overnight rest, for the best results.
Nutrition Estimate
The following values are approximate and will vary according to the ingredients, pan size, and portion size.
| Nutrient | Estimated Amount per Serving |
| Calories | 400–500 kcal |
| Carbohydrates | 35–45 g |
| Protein | 4–6 g |
| Total Fat | 27–35 g |
| Saturated Fat | 14–19 g |
| Sugar | 23–32 g |
| Sodium | 200–350 mg |
Estimate based on 12–16 servings.
Frequently Asked Questions
Can I make Lotus Biscoff cheesecake without an oven?
Yes! This is a completely no-bake cheesecake. The crust and filling are prepared without baking, and refrigeration helps the filling firm up before serving.
How long does no-bake Biscoff cheesecake take to set?
Allow at least 4–6 hours in the refrigerator. Overnight chilling is recommended for a firmer filling and cleaner slices.
Can I use mascarpone instead of cream cheese?
Yes, mascarpone can be used, although it has a richer flavor and different texture. For the most reliable result, use full-fat cream cheese or a combination of cream cheese and mascarpone.
Why is my cheesecake filling too soft?
The filling may be too soft if the cream wasn’t whipped to firm peaks, the mixture was overmixed, or the cheesecake didn’t chill long enough. Make sure to use cold heavy cream and allow sufficient refrigeration time.
Can I make this cheesecake in advance?
Absolutely. Prepare it the day before serving and refrigerate overnight. This also allows the flavors to develop and makes slicing easier.
Can I freeze Biscoff cheesecake?
Yes. Freeze individual slices or the whole cheesecake in an airtight, freezer-safe container for up to 2 months for the best quality. Thaw overnight in the refrigerator.
Can I use crunchy Biscoff spread?
Yes. Crunchy cookie butter works well in the filling or topping and adds extra texture. Smooth spread is preferable if you want a perfectly even, glossy finish.
How do I cut clean cheesecake squares?
Chill the cheesecake thoroughly, then use a sharp knife dipped in warm water and wiped dry between cuts. This helps create neat edges without dragging the filling.
Final Thoughts
This No-Bake Lotus Biscoff Cheesecake is the perfect dessert for anyone who loves creamy cheesecake and the irresistible caramelized flavor of Biscoff cookies. Its buttery crust, fluffy filling, and glossy cookie butter topping create a beautiful dessert that looks impressive without requiring complicated baking techniques.
Whether you’re preparing a holiday treat, celebrating a birthday, or simply craving a delicious homemade dessert, this easy Biscoff cheesecake is sure to become a favorite. Make it ahead, chill it overnight, and enjoy every creamy, crunchy, caramel-filled bite!