
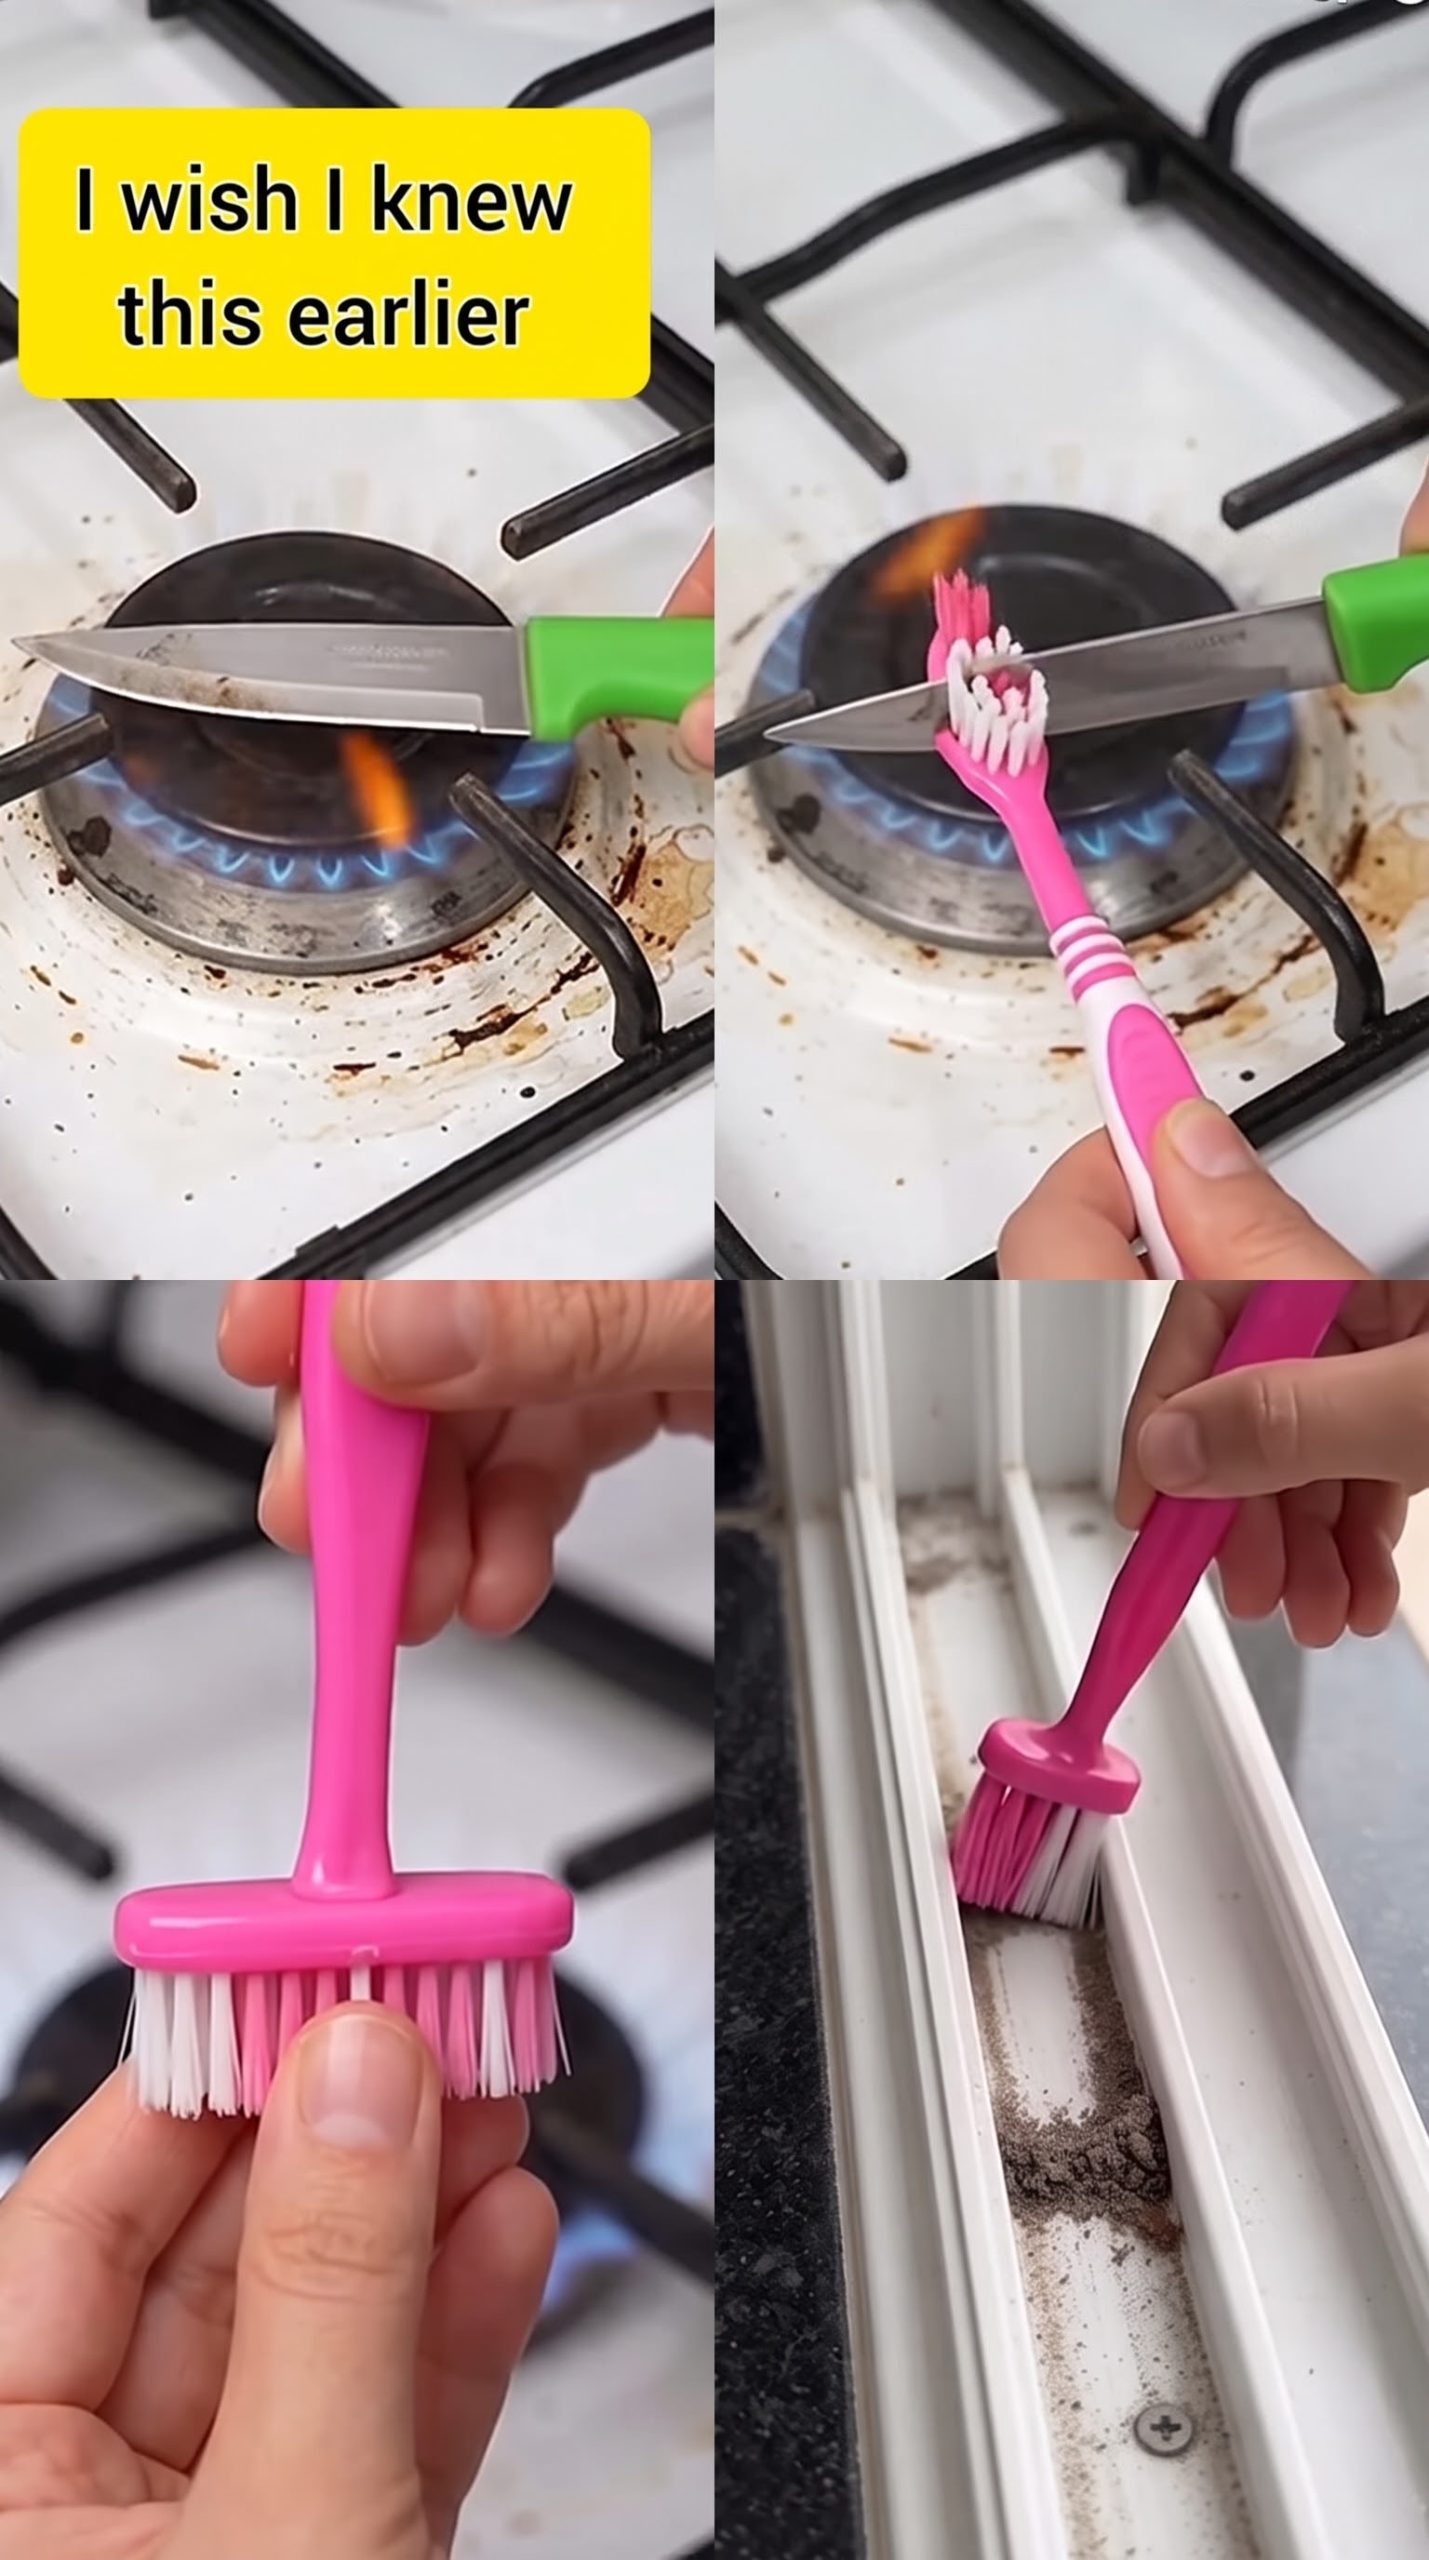
Have an old toothbrush you no longer use? Instead of throwing it away, you can repurpose it into a handy cleaning tool for narrow spaces, window tracks, sliding door grooves, and other hard-to-reach corners.
This simple DIY cleaning hack helps you reuse household items and tackle dust and dirt in places that ordinary cleaning brushes may struggle to reach.
Project Overview
| Details | Information |
| Preparation Time | 5–10 minutes |
| Cooling Time | 5 minutes |
| Total Time | Approximately 10–15 minutes |
| Difficulty | Easy |
| Cost | Very low |
| Best For | Window tracks, door grooves, and narrow corners |
Why You’ll Love This DIY Cleaning Hack
This homemade mini cleaning brush is inexpensive, practical, and easy to make. The angled head can help you reach narrow grooves without putting your fingers into tight spaces.
It is also a useful way to reuse an old plastic toothbrush instead of immediately throwing it away.
Materials Needed
| Material | Quantity | Purpose |
| Old plastic toothbrush | 1 | Main cleaning tool |
| Warm water | A small amount | Softening dirt during cleaning |
| Dishwashing liquid | A few drops, optional | Removing everyday grime |
| Small cleaning cloth | 1 | Wiping away loosened dirt |
| Small brush or toothpick | Optional | Removing stubborn debris from narrow grooves |
Important safety note: Do not heat a kitchen knife over a gas flame or use an open flame to soften the toothbrush handle. This can cause burns, uncontrolled melting, and potentially harmful fumes from heated plastic.
For a safer version, use a toothbrush with a flexible neck or choose an inexpensive angled detailing brush designed for cleaning window tracks.
Step-by-Step Instructions
Step 1: Clean the Toothbrush
Wash the old toothbrush thoroughly with warm water and dishwashing liquid. Rinse it and let it dry.
Choose a brush with a sturdy handle and bristles that remain firmly attached.
Step 2: Choose a Safe Way to Angle the Brush
Instead of heating or cutting the handle, use a toothbrush that already has an angled head or flexible neck.
Alternatively, purchase a small angled cleaning brush designed for window tracks and narrow grooves. This provides the same practical benefit without modifying plastic with heat.
Step 3: Prepare the Cleaning Solution
Mix a few drops of dishwashing liquid with a small bowl of warm water. For ordinary dust, plain water and a dry brush may be sufficient.
Avoid using abrasive powders or strong chemicals that could scratch or damage the window frame.
Step 4: Brush the Window Tracks
Dip the bristles lightly into the cleaning solution and scrub along the grooves and corners. Use short, controlled strokes to loosen accumulated dirt.
Do not soak the tracks, particularly if they contain metal components or areas where water can collect.
Step 5: Remove the Dirt
Wipe away the loosened dust and grime with a microfiber cloth. For dry debris, a vacuum cleaner with a narrow attachment can help before you begin wet cleaning.
Step 6: Rinse and Dry
Wipe the tracks with a clean, slightly damp cloth, then dry the area thoroughly. Rinse the brush after use and allow it to air-dry.
Best Tips for Best Results
Vacuum loose dust before using water to prevent dirt from turning into muddy residue.
Work from one end of the track to the other, paying special attention to corners where debris accumulates. Use a small amount of cleaning solution to avoid leaving standing water in the grooves.
For particularly dirty tracks, repeat the process rather than pressing too hard and risking damage to the frame.
Best Tool Options
An angled toothbrush is useful for small grooves and corners. A narrow detailing brush works well for deeper tracks, while a vacuum crevice attachment is often the best first step for removing dry dust and loose debris.
For delicate surfaces, choose soft nylon bristles to minimize scratching.
Cleaning Variations
For sliding window tracks: Use a dry brush and vacuum first, followed by a lightly damp cloth.
For sliding door grooves: Brush along the length of the track to loosen hair, dust, and dirt.
For bathroom corners: Use a small amount of mild detergent and dry the surface afterward.
For stubborn grime: Let a mild cleaning solution sit briefly before gently scrubbing, provided the surface manufacturer allows it.
Common Mistakes to Avoid
Never heat a plastic toothbrush handle directly over a flame or use a heated knife to bend it. The plastic can melt unevenly, cause burns, or release irritating fumes.
Do not use a sharp kitchen knife or cutter without appropriate precautions. Avoid metal tools that may scratch painted aluminum, vinyl, or other delicate window-frame materials.
Do not mix household cleaning chemicals, especially bleach with ammonia or acids.
Frequently Asked Questions
1. Can I use any old toothbrush?
A clean toothbrush with intact bristles is suitable for light cleaning. Avoid brushes with cracked handles, loose bristles, or damaged plastic.
2. Does the toothbrush need to be bent?
No. An angled toothbrush or a purpose-made detailing brush can reach narrow spaces without modifying the handle.
3. Can I use this method on sliding doors?
Yes. A small brush can help remove dust and debris from sliding door tracks, provided the bristles and cleaning solution are suitable for the surface.
4. What is the best cleaner for window tracks?
For everyday dirt, warm water with a few drops of dishwashing liquid is often sufficient. Follow the window manufacturer’s recommendations for specialized finishes.
5. How often should I clean window tracks?
Every few weeks is a reasonable starting point for dusty environments. Clean more frequently if you notice accumulated dirt or if the windows are used often.
Final Thoughts
Repurposing an old toothbrush is a simple, budget-friendly way to clean window tracks, sliding door grooves, and other narrow spaces. The safest approach is to use an angled brush or a purpose-made detailing tool rather than heating or cutting plastic.
With a little warm water, mild dish soap, and a microfiber cloth, you can keep those hard-to-reach areas cleaner with minimal effort.