
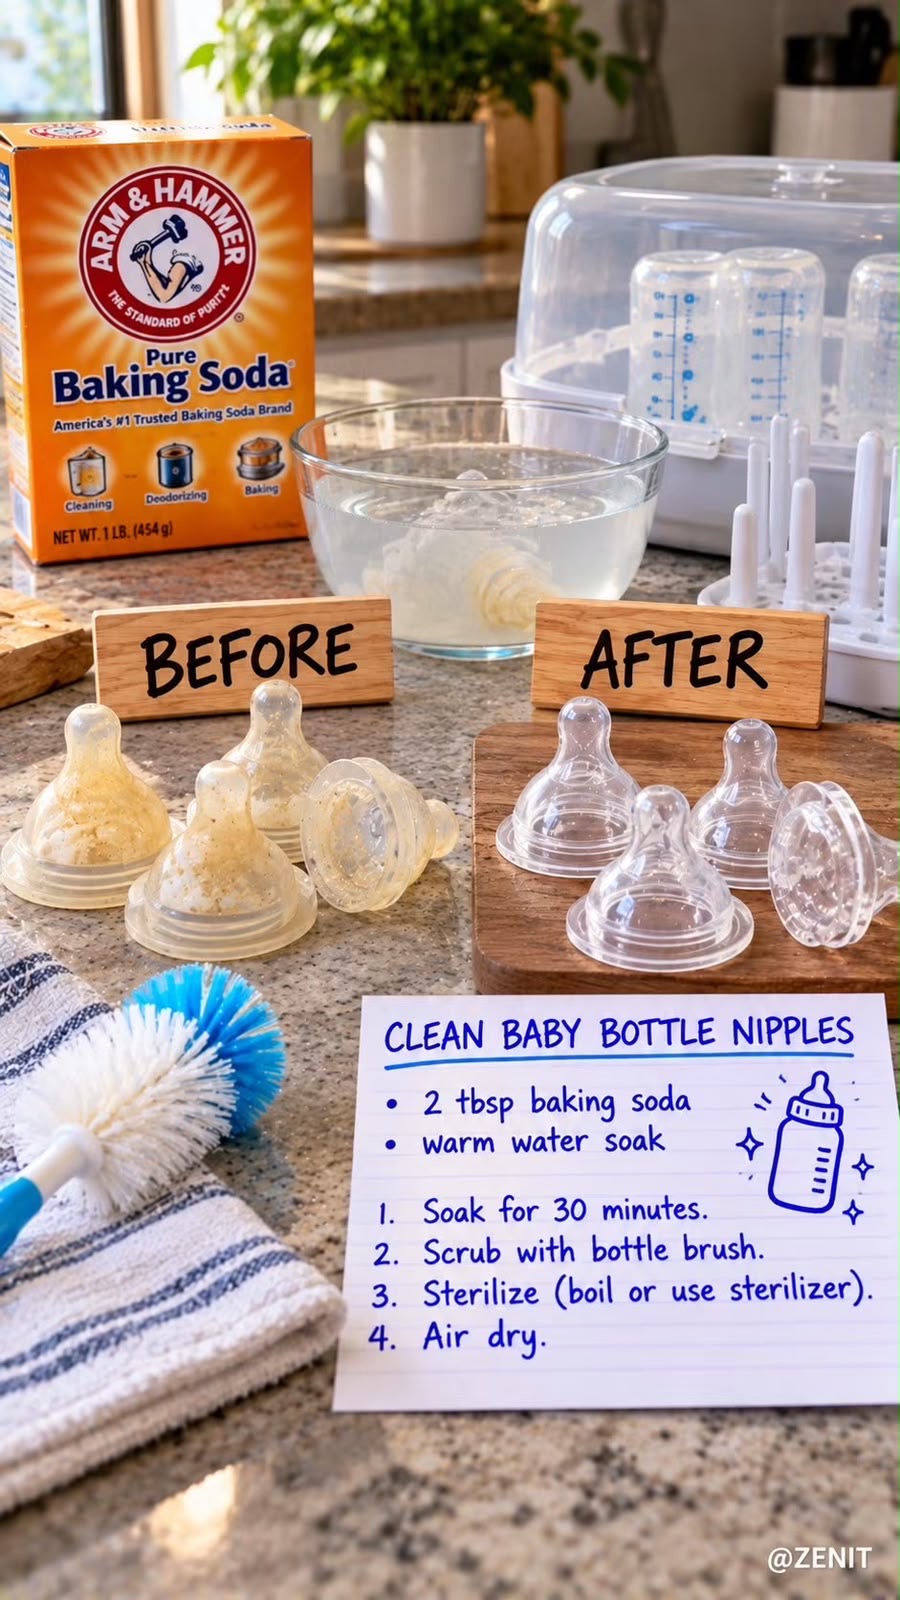
Keeping baby bottle nipples clean is an important part of proper bottle hygiene. Milk residue can remain inside or around the nipple, so thorough washing followed by appropriate sterilization can help keep feeding equipment clean.
This simple method uses baking soda for soaking, followed by careful brushing, rinsing, and sterilization.
Important: Always check the bottle and nipple manufacturer’s instructions before using baking soda, boiling water, steam sterilization, or any other cleaning method. Some nipple materials may require specific care.
Method Overview
| Category | Details |
| Preparation Time | 5 minutes |
| Soaking Time | 30 minutes |
| Sterilization | According to manufacturer instructions |
| Total Time | About 40–50 minutes |
| Difficulty | Easy |
| Suitable For | Reusable baby bottle nipples |
What You’ll Need
| Item | Amount |
| Baking soda | 2 tablespoons |
| Warm water | Enough for soaking |
| Baby bottle brush | 1 |
| Clean bowl | 1 |
| Sterilizer or saucepan | 1 |
| Clean drying surface | 1 |
Step-by-Step Instructions
1. Separate the Bottle Parts
Disassemble the bottle completely.
Separate the nipple from the bottle ring and any other removable components.
Cleaning the parts separately makes it easier to remove milk residue from areas that are difficult to reach.
2. Prepare the Baking Soda Soak
Fill a clean bowl with warm water.
Add 2 tablespoons of baking soda and stir until it is well dispersed.
Place the bottle nipples in the solution and allow them to soak for approximately 30 minutes.
The soak can help loosen dried milk residue and odors.
3. Clean the Nipples
After soaking, remove each nipple from the solution.
Using a clean baby bottle brush or an appropriate nipple-cleaning brush, gently clean the inside and outside of the nipple.
Pay particular attention to the small opening and any areas where milk residue may collect.
Avoid using abrasive brushes or aggressive scrubbing that could damage the silicone or rubber.
4. Rinse Thoroughly
Rinse the nipples thoroughly under clean running water.
Make sure no baking soda or loosened residue remains.
This rinsing step is especially important before sterilization.
5. Sterilize the Nipples
Sterilize the cleaned nipples using the method recommended by the manufacturer.
If the manufacturer specifically states that the nipples are suitable for boiling, place them in boiling water and follow the recommended boiling time.
Alternatively, use a steam or electric sterilizer according to its instructions.
Do not boil or steam nipples unless the manufacturer confirms that the material is suitable for that method.
6. Air-Dry Completely
After sterilization, place the nipples on a clean, dry surface or drying rack.
Allow them to air-dry completely.
Avoid drying them with a kitchen towel because towels can transfer germs or lint onto freshly cleaned feeding equipment.
Once completely dry, store the nipples in a clean, protected area.
Best Tips
Always wash your hands before handling clean bottle parts.
Clean bottle nipples as soon as possible after feeding to prevent milk from drying inside the nipple.
Inspect nipples regularly for cracks, tears, discoloration, stickiness, or other signs of deterioration.
Use a dedicated baby bottle brush rather than a brush that is also used for general kitchen cleaning.
Allow sterilized parts to dry naturally instead of wiping them with a potentially contaminated towel.
Follow the manufacturer’s replacement recommendations because worn nipples may become damaged or harder to clean properly.
Important Safety Considerations
Baking soda is useful as a household cleaning ingredient, but it should not replace proper washing and sterilization when sterilization is recommended for your baby’s feeding equipment.
Do not leave nipples soaking indefinitely.
Do not mix baking soda with bleach, disinfectants, or other cleaning chemicals.
Never use damaged, cracked, torn, or deteriorated nipples.
If the manufacturer recommends a specific cleaning or sterilization procedure, follow those instructions instead of this general method.
How Often Should Baby Bottle Nipples Be Cleaned?
Baby bottle nipples should be cleaned after each feeding.
Rinse and wash them thoroughly to remove milk residue before sterilizing them when sterilization is recommended or required.
The exact need and frequency for sterilization can depend on the baby’s age, health circumstances, and local or manufacturer guidance.
Frequently Asked Questions
Can I use baking soda to clean baby bottle nipples?
Baking soda can be used as a household cleaning aid, but always check the nipple manufacturer’s care instructions first. Thorough rinsing is essential afterward.
Can I boil silicone bottle nipples?
Some silicone nipples are designed to withstand boiling, while others may have different care requirements. Always check the manufacturer’s instructions before boiling.
How long should I boil bottle nipples?
Use the boiling time specified by the manufacturer. Do not assume that every nipple requires the same boiling time.
Can I dry the nipples with a towel?
Air-drying on a clean drying rack is preferable after washing or sterilization. This reduces the risk of transferring contaminants from a reusable kitchen towel.
When should I replace a bottle nipple?
Replace a nipple when you notice cracks, tears, thinning, discoloration, stickiness, changes in shape, or other signs of wear. Follow the manufacturer’s recommended replacement schedule as well.
Final Thoughts
Proper bottle hygiene involves thoroughly cleaning baby bottle nipples after feeding, rinsing away cleaning residues, using an appropriate sterilization method when recommended, and allowing the parts to dry completely.
The most important rule is to follow the manufacturer’s cleaning and sterilization instructions, since different nipple materials and designs can have different care requirements.
For baby-feeding equipment, careful cleaning and regular inspection are more important than using a particular homemade cleaning formula.