
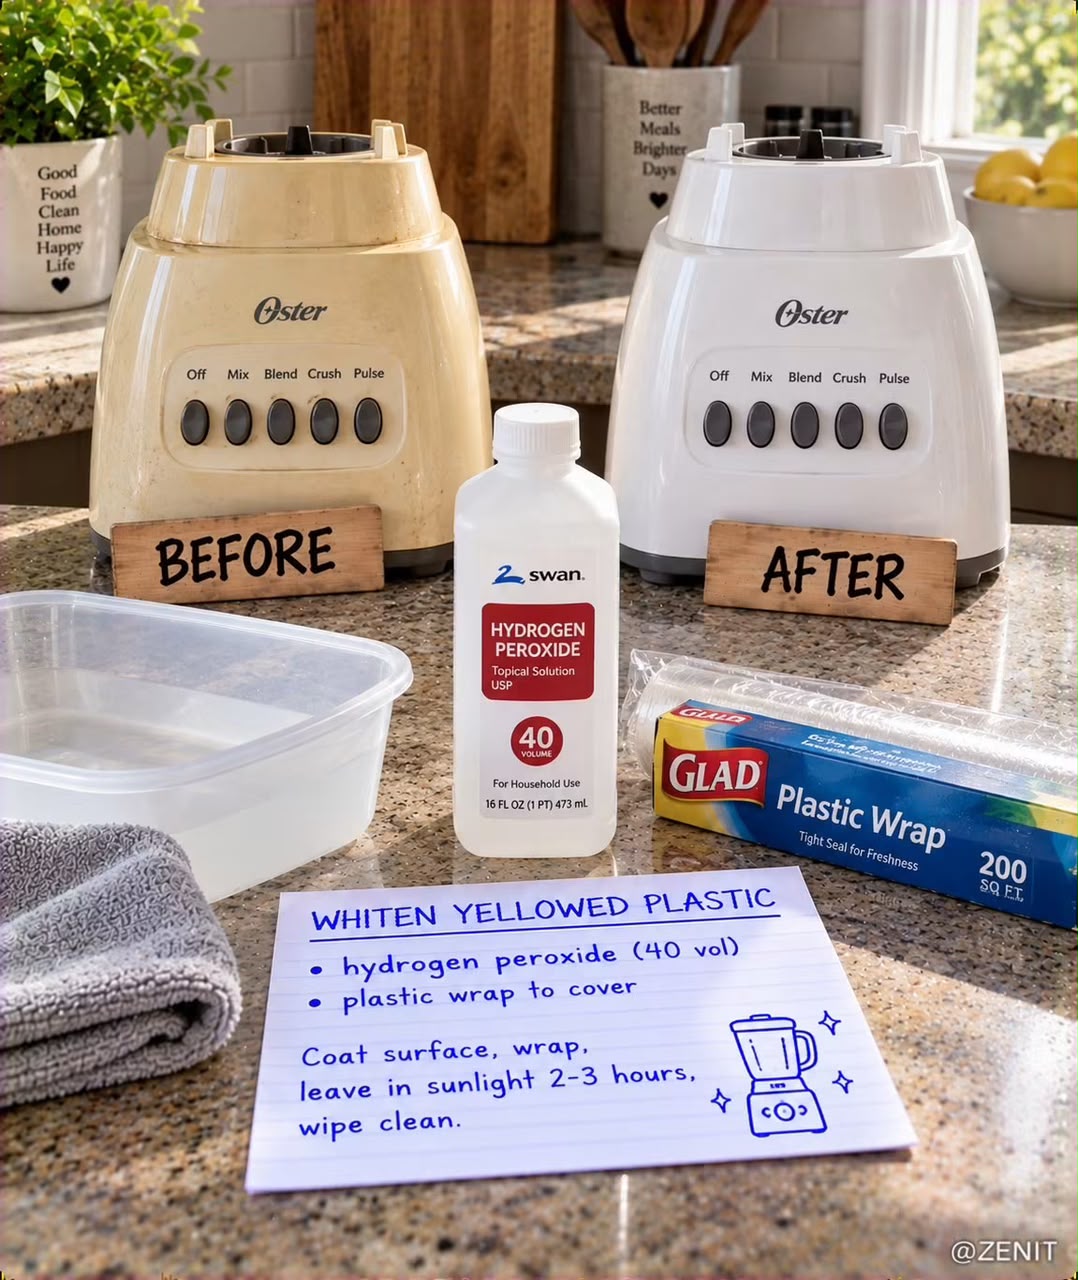
Over time, white plastic can develop a yellow or beige discoloration caused by aging and prolonged exposure to light and heat.
The Retrobright method is a restoration technique designed to improve the appearance of yellowed plastic by treating the surface with hydrogen peroxide and exposing it to UV light.
This method is commonly associated with restoring older plastic items such as electronics housings, appliance parts, game consoles, keyboards, and other vintage plastic components.
Materials Needed
| Material | Amount / Details |
| Hydrogen peroxide | 40-volume / approximately 12% concentration |
| Plastic wrap | Enough to completely cover the treated area |
| Protective gloves | Chemical-resistant gloves |
| Small paintbrush | For applying the peroxide |
| Clean cloth or towel | For wiping the surface |
| Mild soap and water | For preliminary cleaning |
Important Safety Precautions
40-volume hydrogen peroxide is highly concentrated and can cause serious skin and eye irritation or burns.
Always wear appropriate protective gloves and eye protection when handling it.
Work in a well-ventilated area and keep the product away from children, pets, food, and fabrics.
Avoid splashing the product and never apply it to your skin.
Do not mix hydrogen peroxide with bleach, ammonia, acids, or other household cleaning chemicals.
Before treating the entire object, test the method on a small, inconspicuous plastic area to check how the material reacts.
If the plastic is part of an electrical or electronic device, disconnect it from power and, whenever possible, remove the plastic component before treatment. Do not allow liquid to enter electronics, vents, switches, or openings.
Step-by-Step Instructions
1. Clean the Plastic
Before applying the treatment, remove dust, dirt, and grease from the plastic surface.
Wash the surface gently with mild soap and water if appropriate for the item.
Rinse away any soap residue and dry the plastic completely with a clean towel.
The surface should be clean and dry before applying hydrogen peroxide.
2. Protect Yourself
Put on chemical-resistant protective gloves and appropriate eye protection before handling the hydrogen peroxide.
Prepare your work area and protect nearby surfaces from accidental splashes.
Use a small brush that can be dedicated to this type of chemical work.
3. Apply the Hydrogen Peroxide
Apply a generous, even coating of the hydrogen peroxide to the yellowed plastic using the brush.
Try to maintain an even layer across the entire treated area.
Uneven application can potentially lead to uneven results or visible differences in color.
Avoid getting the product on painted surfaces, labels, rubber components, or materials that may react with hydrogen peroxide.
4. Cover With Plastic Wrap
Immediately cover the treated area with plastic wrap.
Press the plastic wrap gently against the surface so that the peroxide remains in contact with the plastic and does not dry out too quickly.
Avoid trapping excessive air bubbles or creating areas where the product is unevenly distributed.
5. UV Exposure
Place the treated object in a suitable location where it can receive sunlight.
The UV light helps activate the chemical reaction involved in the restoration process.
A treatment period of approximately 2–3 hours can be used as a starting point.
However, treatment time can vary depending on the type of plastic, the severity of the discoloration, the hydrogen peroxide concentration, temperature, and UV intensity.
Do not leave the object unattended for extended periods simply to achieve a whiter appearance. Check the progress periodically.
6. Remove the Treatment
After the treatment period, carefully remove the plastic wrap.
Use gloves while handling the treated surface.
Wipe the plastic thoroughly with a clean, damp cloth to remove all remaining peroxide.
Rinse or wipe repeatedly as necessary until there is no visible residue.
Allow the item to dry completely.
7. Evaluate the Result
Once the plastic is completely dry, inspect the surface under normal lighting.
If the yellowing has improved sufficiently, stop the treatment.
Repeated treatment can potentially affect the appearance or condition of some plastics, so avoid automatically repeating the process without first checking the material.
Best Tips
Always test a small hidden area first. Different plastics can react differently to hydrogen peroxide and UV exposure.
Apply the product as evenly as possible because inconsistent coverage can produce uneven coloration.
Keep the plastic wrap securely positioned so the peroxide does not dry out prematurely.
Do not assume that longer UV exposure will always produce better results. Excessive exposure can contribute to additional aging or damage depending on the material.
For valuable vintage electronics, consider consulting a professional restoration specialist before treating the original plastic.
Best Material Options
A 40-volume hydrogen peroxide cream is sometimes used for Retrobright-style restoration because it has a thicker consistency than liquid peroxide and can remain in place more easily.
A liquid hydrogen peroxide solution can also be used, but it requires careful application to prevent dripping and uneven coverage.
Always verify the concentration on the product label before use.
Common Mistakes to Avoid
Do not handle concentrated hydrogen peroxide with bare hands.
Do not mix hydrogen peroxide with other household chemicals.
Do not apply the treatment to an assembled electronic device where liquid could reach electrical components.
Do not leave thick or uneven pools of peroxide on the surface.
Do not expose the plastic to UV light indefinitely.
Do not skip the final cleaning step. Any remaining chemical residue should be thoroughly removed before the item is returned to normal use.
Frequently Asked Questions
What is Retrobright?
Retrobright is a term commonly used for a plastic-restoration technique intended to reduce yellowing on aged plastic, particularly older white or light-colored plastics.
Why does old plastic turn yellow?
Certain plastics can discolor over time due to aging and chemical changes within the material. Exposure to heat and light can contribute to this process.
Does sunlight activate the treatment?
UV light can help activate the hydrogen-peroxide-based reaction used in Retrobright-style treatments. However, excessive UV exposure can also contribute to material aging.
How long should I leave the treatment on?
A short treatment of around 2–3 hours can be used as a starting point, but the appropriate duration depends on the material, peroxide concentration, UV intensity, and degree of yellowing.
Can I use this method on electronics?
Only treat removable plastic components whenever possible. Never allow hydrogen peroxide or moisture to enter electrical components, openings, switches, or internal circuitry.
Is concentrated hydrogen peroxide dangerous?
Yes. Approximately 12% hydrogen peroxide is significantly more concentrated than common household 3% solutions and can cause serious irritation or chemical burns. Appropriate protective equipment and careful handling are essential.
Final Thoughts
Retrobright-style restoration can improve the appearance of yellowed plastic and give older items a cleaner, brighter appearance.
The process involves cleaning the plastic, applying hydrogen peroxide, maintaining contact with plastic wrap, and using controlled UV exposure.
Because concentrated hydrogen peroxide requires careful handling, safety should always come before achieving a particular color. Test the material first, use appropriate protective equipment, and thoroughly remove all chemical residue before using the restored item.