
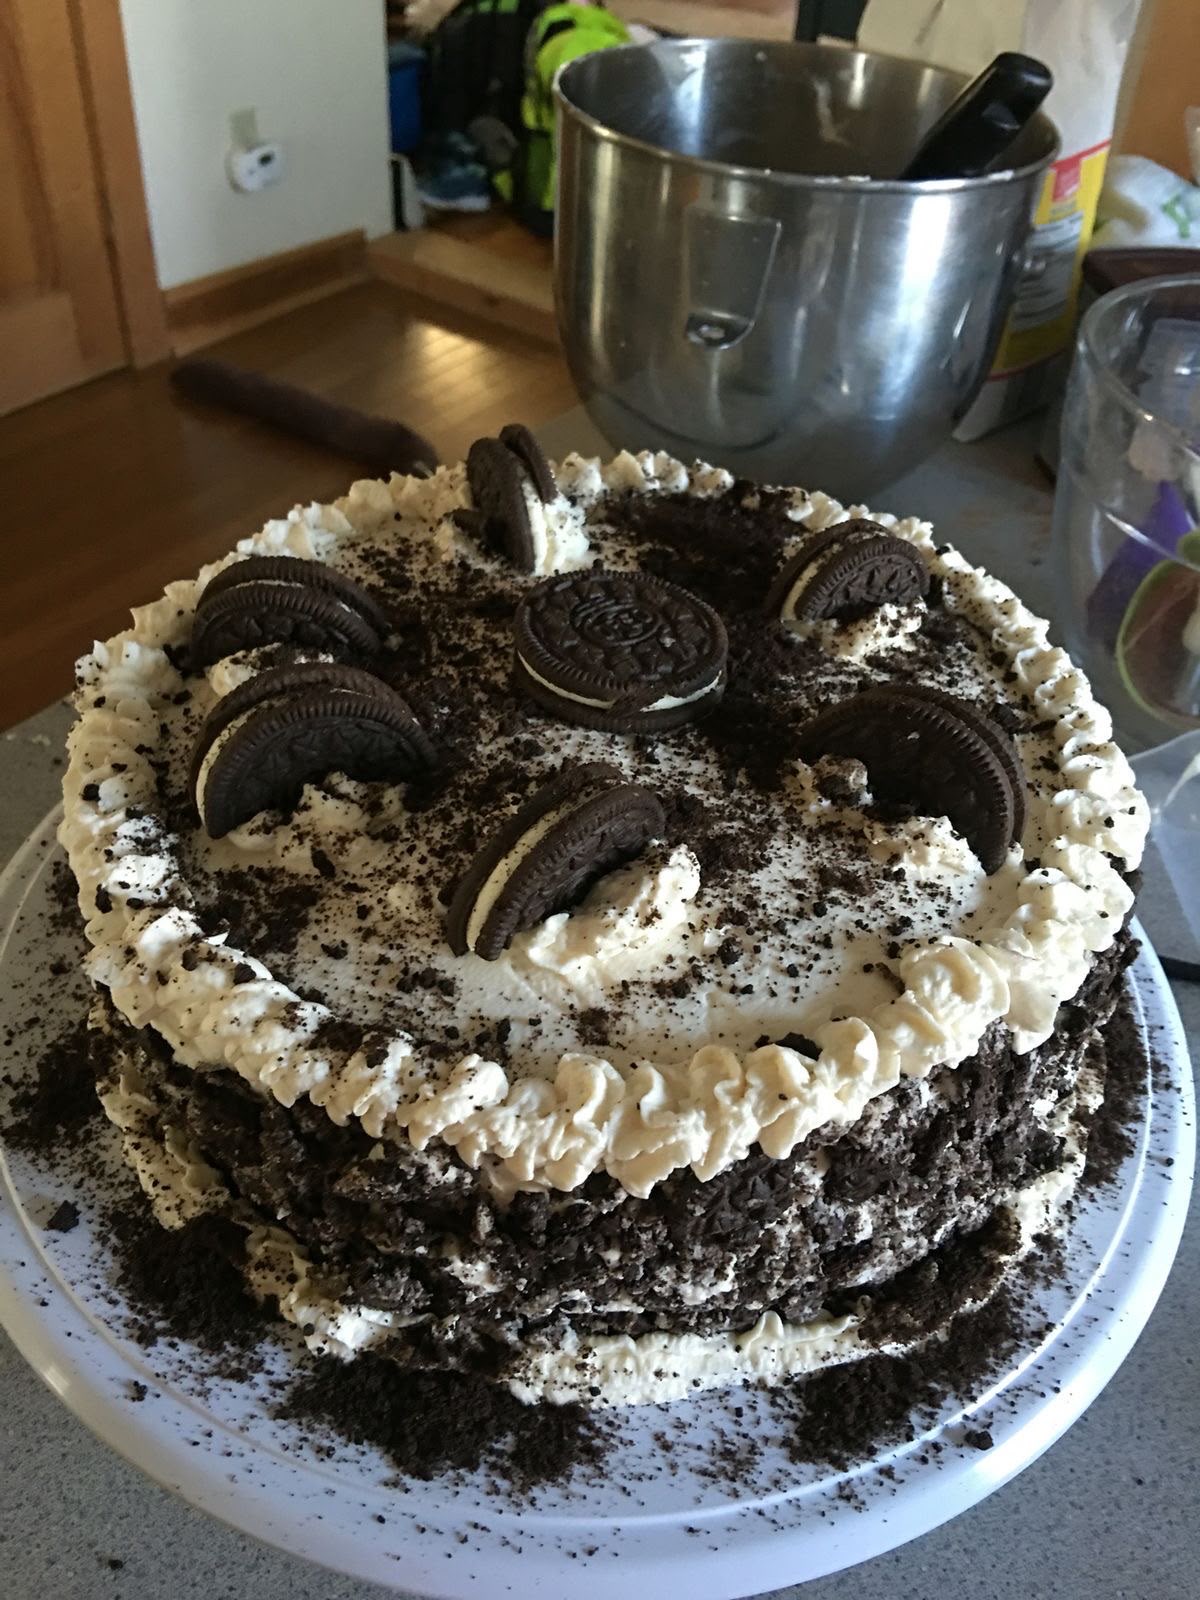
This No-Bake Strawberry Oreo Cheesecake is creamy, smooth, and incredibly easy to prepare. With a crunchy Oreo cookie crust, a beautiful pink cream cheese filling, chunks of Oreo cookies, and a gorgeous strawberry-inspired decoration, this dessert is perfect for birthdays, celebrations, holidays, or a special weekend treat.
The best part is that there is no oven required. Simply prepare the cheesecake, refrigerate it until firm, decorate, and serve.
Recipe Overview
| Category | Details |
| Prep Time | 30 minutes |
| Chilling Time | At least 6 hours |
| Total Time | About 6 hours 30 minutes |
| Servings | 10–12 slices |
| Pan Size | 20 cm / 8-inch springform pan |
| Difficulty | Easy |
Why You’ll Love This Recipe
This no-bake cheesecake has the perfect combination of crunchy Oreo cookies and a rich, creamy filling.
The soft pink color gives it a beautiful appearance, while the crushed and whole Oreos add delicious chocolate-cookie flavor and texture.
Because it does not require baking, it is a convenient dessert when you want something impressive without spending hours in the kitchen.
It can also be prepared the day before, making it ideal for parties and special occasions.
Ingredients
For the Oreo Crust
| Ingredient | Amount |
| Oreo cookies | 24 |
| Unsalted butter, melted | 60 g |
For the Pink Cream Cheese Filling
| Ingredient | Amount |
| Cream cheese, softened | 450 g |
| Powdered sugar | 100 g |
| Vanilla extract or strawberry extract | 1 teaspoon |
| Pink gel food coloring | 1–2 drops |
| Heavy whipping cream, very cold | 300 ml |
| Oreo cookies, roughly crushed | 8 |
For the Decoration
| Ingredient | Amount |
| Heavy whipped cream, firmly whipped | 150 ml |
| Whole Oreo cookies | 8–10 |
| Oreo crumbs | As needed |
| Pink decorating sugar | As needed |
Step-by-Step Instructions
1. Prepare the Oreo Crust
Place the 24 whole Oreo cookies in a food processor and pulse until they become fine crumbs.
Add the melted butter and process or stir until the crumbs are evenly coated and the mixture resembles wet sand.
Line the bottom of a 20 cm (8-inch) springform pan with parchment paper.
Transfer the Oreo mixture to the pan and press it firmly and evenly into the bottom.
Use the bottom of a glass or measuring cup to compact the crust.
Refrigerate for about 20 minutes while you prepare the filling.
2. Whip the Cream
Pour the very cold heavy cream into a chilled mixing bowl.
Beat with an electric mixer until firm peaks form.
Be careful not to overbeat the cream.
Set the whipped cream aside in the refrigerator while preparing the cream cheese mixture.
3. Prepare the Cream Cheese Mixture
In a large bowl, beat the softened cream cheese with the powdered sugar, vanilla extract or strawberry extract, and pink gel food coloring.
Mix until the filling is completely smooth, creamy, and evenly colored.
Add only a small amount of food coloring at first and increase gradually until you reach your desired shade of pink.
4. Combine the Filling
Gently fold the whipped cream into the pink cream cheese mixture using a spatula.
Fold slowly and carefully to keep the filling light and fluffy.
Add the 8 roughly crushed Oreo cookies and gently mix until they are evenly distributed throughout the filling.
5. Fill and Chill
Remove the Oreo crust from the refrigerator.
Pour the pink cheesecake filling over the crust and spread it evenly with a spatula.
Smooth the surface as much as possible.
Cover the cheesecake with plastic wrap and refrigerate for at least 6 hours, preferably overnight.
The cheesecake needs enough chilling time to become firm enough to slice cleanly.
6. Decorate the Cheesecake
Once completely set, carefully remove the cheesecake from the springform pan.
Transfer it to a serving plate.
Place the whipped cream in a piping bag fitted with a star or open-star piping tip.
Pipe decorative rosettes around the top edge of the cheesecake.
Insert whole Oreo cookies between the whipped cream rosettes.
Sprinkle pink decorating sugar over the top and finish by pressing Oreo crumbs around the bottom edge of the cheesecake.
Slice and serve chilled.
Best Tips
Use full-fat cream cheese for the richest texture and best stability. Make sure it is softened before mixing to prevent lumps.
The heavy cream should be very cold before whipping. Cold cream generally whips more easily and holds its shape better.
Do not rush the chilling process. Six hours is the minimum recommended time, but chilling overnight gives the cheesecake an even firmer texture.
Press the Oreo crust firmly into the pan so that it holds together when the cheesecake is sliced.
When folding the whipped cream into the cream cheese mixture, use gentle movements to preserve the airy texture.
For the cleanest slices, chill the cheesecake thoroughly and use a sharp knife. Wiping the knife between slices can also help create neat edges.
Best Ingredient Options
Full-fat cream cheese provides the best structure and creamy flavor for a no-bake cheesecake.
Use heavy whipping cream with at least 30% fat for a stable filling.
Vanilla extract gives the cheesecake a classic flavor, while strawberry extract creates a stronger fruity profile.
For a more natural strawberry flavor, you can incorporate a small amount of finely processed freeze-dried strawberry powder into the filling.
Recipe Variations
For an extra strawberry flavor, add a thin layer of strawberry sauce or strawberry jam between the Oreo crust and the cheesecake filling.
You can also add finely diced fresh strawberries to the filling, although excess moisture may affect the final texture.
For a chocolate-strawberry cheesecake, drizzle melted chocolate over the finished cake before decorating.
For a simpler version, skip the pink food coloring and let the creamy Oreo filling remain its natural color.
You can also make individual mini cheesecakes using small dessert rings or muffin cups for an easy party dessert.
What to Serve With
Serve each slice with fresh strawberries for a bright and fruity contrast.
A drizzle of strawberry sauce makes the dessert even more indulgent.
You can also serve it with a small amount of whipped cream, chocolate sauce, or extra crushed Oreos.
For drinks, this cheesecake pairs especially well with coffee, cappuccino, milk, or a cup of tea.
Make-Ahead Instructions
This cheesecake is an excellent make-ahead dessert.
Prepare it completely the day before serving and allow it to chill overnight.
For the best presentation, add the final whipped cream decoration, whole Oreos, and decorative sugar shortly before serving.
Storage
Store the cheesecake covered in the refrigerator.
It is best enjoyed within 3–4 days for the best texture and flavor.
Because the dessert contains dairy and whipped cream, keep it refrigerated and do not leave it at room temperature for extended periods.
Reheating
This is a no-bake cheesecake and should not be reheated.
Serve it chilled directly from the refrigerator.
If it becomes very firm after refrigeration, allow it to sit at room temperature for approximately 5–10 minutes before slicing.
Freezing
The undecorated cheesecake can be frozen for longer storage.
Wrap it tightly in plastic wrap and place it in a freezer-safe container.
Freeze for up to approximately 1 month for the best quality.
Thaw it slowly in the refrigerator overnight.
Add the whipped cream, Oreo cookies, and decorative sugar after thawing for the best appearance.
Common Mistakes to Avoid
Do not use warm cream when making the whipped cream because it may not whip properly.
Avoid overmixing the filling after adding the whipped cream, as excessive mixing can reduce its light and airy texture.
Do not skip the chilling time. The cheesecake needs several hours in the refrigerator to set properly.
Avoid adding too much liquid strawberry flavoring or puree to the filling, as excess moisture can make a no-bake cheesecake too soft.
Make sure the Oreo crust is firmly pressed into the pan. A loose crust may crumble when the cheesecake is removed or sliced.
Nutrition Estimate
Nutrition values are approximate and will vary depending on the exact ingredients and portion size.
| Nutrient | Approximate Amount per Slice |
| Calories | 450–520 kcal |
| Carbohydrates | 40–48 g |
| Protein | 6–8 g |
| Fat | 29–34 g |
| Saturated Fat | 16–20 g |
| Sugar | 25–32 g |
| Fiber | 1–2 g |
| Sodium | 300–400 mg |
Frequently Asked Questions
Does this cheesecake really require no baking?
Yes. The cheesecake sets in the refrigerator rather than in the oven, making it a simple no-bake dessert.
How long should I chill the cheesecake?
Chill it for at least 6 hours. For the firmest texture and easiest slicing, chilling overnight is recommended.
Can I make this cheesecake the day before?
Absolutely. In fact, preparing it the day before is one of the best ways to ensure that the filling has enough time to set.
Can I use strawberry extract instead of vanilla?
Yes. Strawberry extract gives the filling a stronger strawberry flavor. Vanilla extract creates a more classic cheesecake flavor.
Why is my no-bake cheesecake too soft?
The most common reasons are insufficient chilling time, cream that was not whipped firmly enough, or excessive liquid added to the filling.
Can I use reduced-fat cream cheese?
You can, but full-fat cream cheese generally provides a richer flavor and firmer texture, which is especially helpful in a no-bake cheesecake.
Can I add fresh strawberries?
Yes. Fresh strawberries can be added as a topping or incorporated into the dessert, but avoid adding too much moisture to the filling.
Final Thoughts
This No-Bake Strawberry Oreo Cheesecake is an easy yet impressive dessert that combines everything you want in a creamy cheesecake: a crunchy Oreo crust, smooth pink cream cheese filling, chocolate-cookie pieces, and a beautiful decorative finish.
Since it can be prepared ahead of time and requires no oven, it is an excellent choice for birthdays, family gatherings, holidays, and special occasions.
For the best results, use full-fat cream cheese, very cold heavy cream, and allow the cheesecake to chill overnight whenever possible.